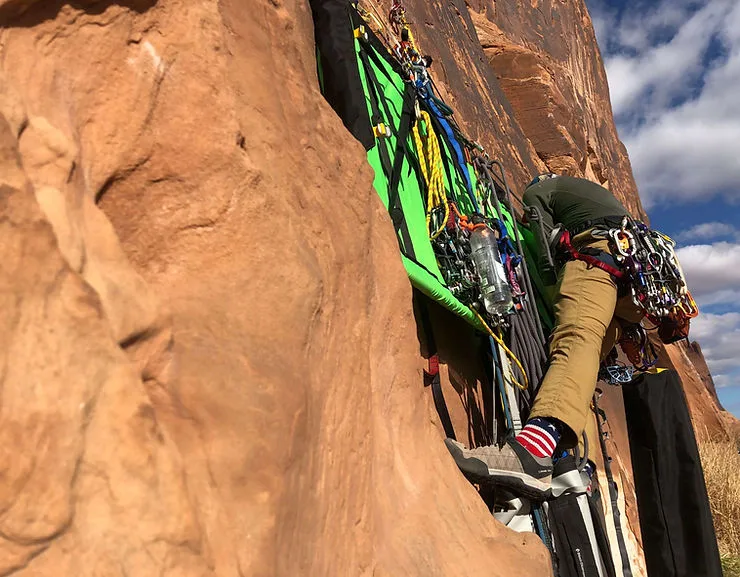
Whether you are prepping for an ascent of the Diamond Face on Longs Peak, a mellow day rock climbing in Boulder Canyon, or an all out birthday marathon sport climbing in Clear Creek Canyon, this A to Z list has you covered!
A – Approach shoes
Good choices in footwear really pay off in the mountains! Sticky bottomed approach shoes work great both for hiking and scrambling to the base of the crag or firing the approach pitches. Heck, many people climb the Boulder Flatirons in just approach shoes. Just be sure you don’t size these too snug or your feet will be screaming on longer approaches.
B – Backpack
What more needs to be said? Rock climbing takes a lot of gear and we definitely need something to carry it all in. A few of our preferred backpack systems are: 1) a 15L pack stuffed inside a 40L pack for climbing long, multipitch routes, 2) a 20L pack for big up and over alpine missions, 3) a 32L for a solid day out cragging.
C – Carabiners
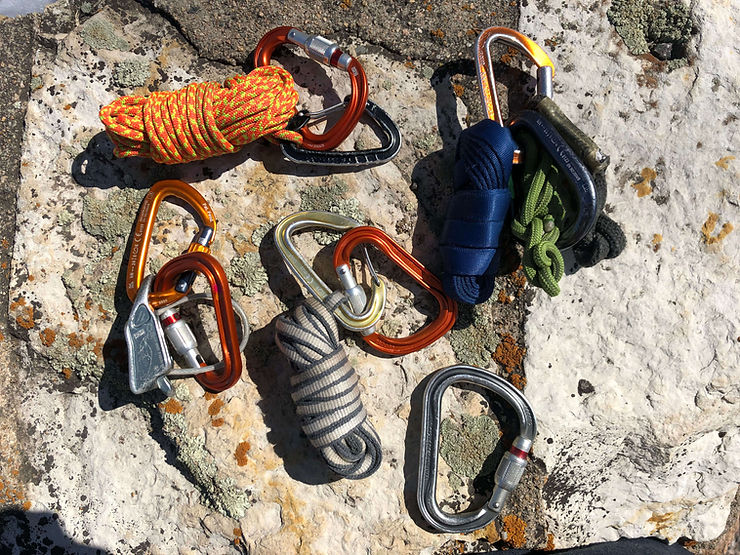
With so many different types of carabiners on the market nowadays, it can be hard to choose which ones you like best. We recommend that every person climbing have at least 5 pear shaped locking carabiners like the Petzl Attache and 3 non-locking carabiners like the Trango Phase. A typical climbing kit that every person should have may look something like the picture below (self rescue cordellette, self rescue kit, belay device, and anchor material)
D – Dynamic climbing rope
This is a biggie! We definitely want to make sure we are climbing on a dynamic rope versus a static rope. Dynamic ropes stretch and act like a giant bungee cord that absorbs the force of a fall. If we were to fall on a static rope, well let’s just say it would be bad news. So which dynamic rope is right for you? We use many different ropes depending on what we are planning to climb. For long multi-pitch routes, we like bicolored 60m ropes in the 9.0 to 9.4mm range, while we use 9.8 to 10.2mm 60m for our endless toprope sessions. Dry treatments can be a nice addition as it extends the longevity of a rope. We love the Sterling Nano IX 9.0mm and the Sterling Velocity 9.8mm.
E – Energy
We all need fuel to keep us going and it’s really hard to find a quality burrito in the mountains! Bottom line on this one…make sure it is food you will want to eat during a long day. Dried fruits, gels, peanut butter and jelly, nuts, jerky, and energy bars are all good choices.
F – First aid kit
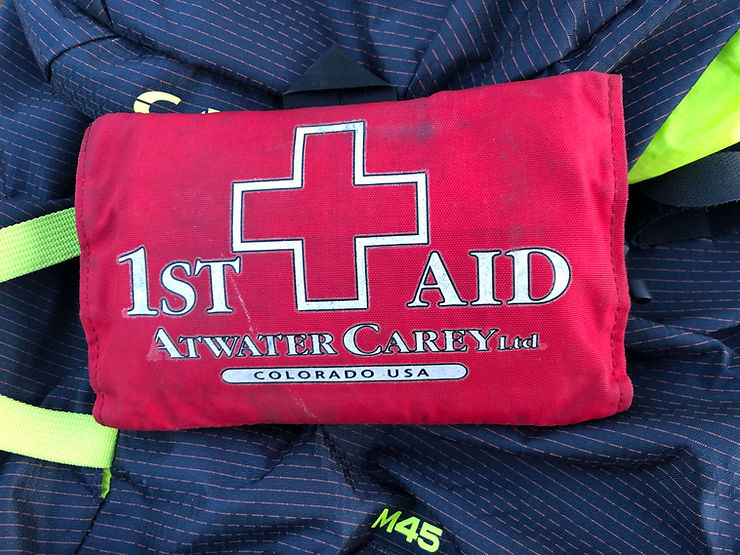
Let’s face it, the mountains can be a dangerous place and we need to be prepared. A first aid kit doesn’t take up much real estate in the bottom of your pack, and is added insurance just in case. Don’t forget to restock it after use! Most of our guides have two different first aid kits they carry depending on the day of climbing. Smaller “bare-bones” kits are great for multi-pitch climbing while a larger kit is great for cragging days. Some of the most important things to keep in a first aid kit are: bandages and dressings, adhesive tape, gloves and other personal protective equipment, an Ace bandage, and something to cut material with (scissors or knife).
G – Grigri (or other belay device)
Without one of these, not much climbing is going to happen. Belay devices come in all different styles with different locking mechanisms. They all generate enough friction to stop a falling climber. While these are great tools, sooner or later you will drop one and should know how to belay and rappel without a device. This is a topic we cover in our Self Rescue Course!
H – Harness and Helmet
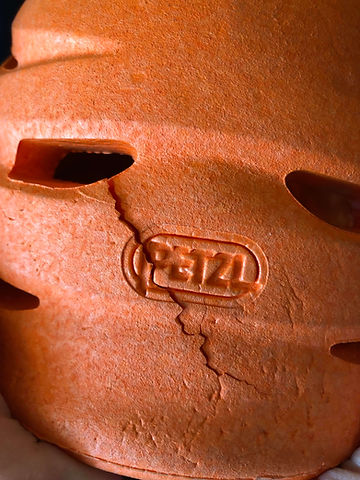
Arguably, two of the most important pieces of climbing gear. In order for the system to work, we have to attach the rope to a harness. Find one that is comfortable and has some padding around the legs and waist. Additional features could include molded gear loops, extra belay loop, ice clipper slots, etc. Don’t forget the helmet either! Newer climbing helmets are made of foam and absorb shock instead of sending it directly into your body. If we were to choose the most important piece of gear, it would be a helmet! It will undoubtedly save your life one day! Imagine the scene if the person to the right wasn’t wearing a helmet when a football sized piece of ice fell!
I – Inform a friend
Remember that movie “127 Hours”? Don’t let this be you! Always tell someone where you are planning to climb with the route name, backup routes, crag and area, and when you are planning to be back. Often times on bigger days, it’s nice to leave a little note on your dashboard with this information just in case.
J – Joshua Tree Climbing Salve
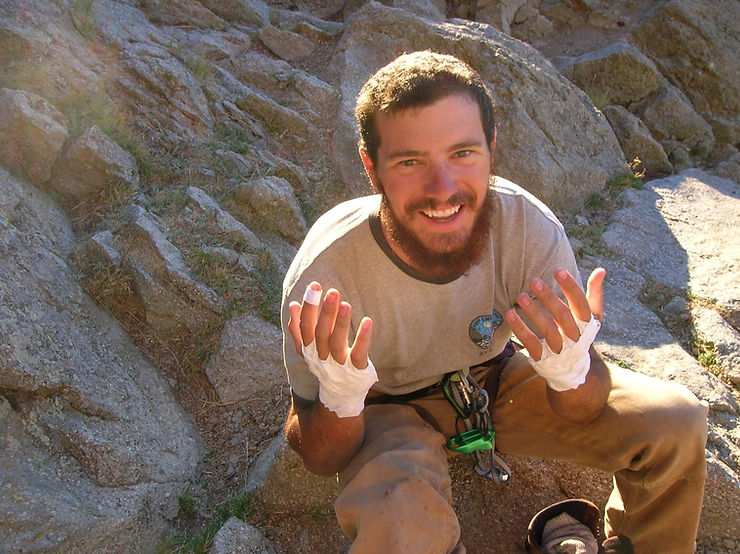
Scraped up hands and fingers are par the course for a day out rock climbing. Help the healing process begin and climb again sooner. Joshua Tree Climbing Salve works wonders, but is a little on the pricey side. Try O’Keefe’s Working Hands for a cheaper alternative.
K – Knife
Truly a multi-purpose climbing tool! Use it for cutting and replacing tat, and chopping off a core-shot end of rope. There are a few companies out there that make a knife that clip right onto your harness, but they are pricey. The tried and true method is to keep it in your first aid kit stuffed at the bottom of your backpack.
L – Leave No Trace 7 Principles
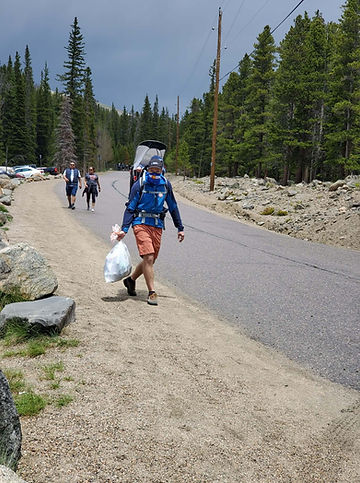
While not necessarily climbing gear, these seven guidelines help to ensure we keep our climbing areas open. Education is the best way to foster land stewardship. Don’t be afraid to get your hands messy either. On a recent trip out, one of our guides picked up almost 40 lbs of garbage in a mile and a half hike! A full description of Leave No Trace and what they stand for can be found HERE.
1) Plan ahead and prepare
2) Travel & camp on durable surfaces
3) Dispose of waste properly
4) Leave what you find
5) Minimize campfire impacts
6) Respect wildlife
7) Be considerate of other visitors
M – Magnesium carbonate (chalk)
Sweaty hands? Can’t get a grip? A quick dip in the chalk bag is just what you need! Climbing chalk pulls the moisture out of your hands so you can grip those tricky slopers just long enough to move past them. A pro tip is to keep your chalkbag in a small Ziploc bag so the rest of your gear in your pack doesn’t turn white. There are lots of great brands of chalk out there in block form, powdered form, and recently a liquid type chalk. It’s easy to break the bank on chalk for fancy stuff that performs just as well as the cheap stuff. Just be sure the area you are climbing in allows the use of chalk.
N – Navigation (map, guidebook, etc)
Don’t wonder around aimlessly looking for the crag! Bring a guidebook, map and compass, or other navigation items. Most crags are pretty easy to find just from well marked trails and popularity. If you’re ever putting up new routes, or traveling way off the grid in the backcountry, a map and compass, and the skills to use one, will definitely pay off. Get the approach and descent beta beforehand too! If you need beta on any of the routes or areas we guide, please let us know. We are more than happy to help!
O – Outdoor Research Splitter Gloves
Prepping for a crack climb but don’t want to tape up? These slick little gloves take the hassle out of taping up for crack climbing and are reusable. With three different sized gloves fitting most hands, these are definitely worth the money. Check them out HERE. Don’t know how to crack climb? Our Crack Climbing Course will get you up to speed!
P – Phone (to access Mountain Project and update your Instagram)
We all carry this anyway! Make sure the Mountain Project app is installed and you have a full battery before heading out for the day. You can always turn your phone onto airplane mode to conserve battery life if you have no service. If it is colder outside, be sure to keep your phone closer to your body to prevent the cold from draining your battery.
Q – Quickdraws
Whether you are sport climbing, trad climbing, ice climbing, or mountaineering, quickdraws are an essential item to bring. Twelve quickdraws typically constitute a sport rack and for 90% of the pitches out there, this is more than enough to get you to the anchors. Nowadays, most quickdraws are so light that it is not a bad idea to through in a few extra when in doubt. Better yet, toss in some slings and you’ll have more options!
R – Rocky Talkie
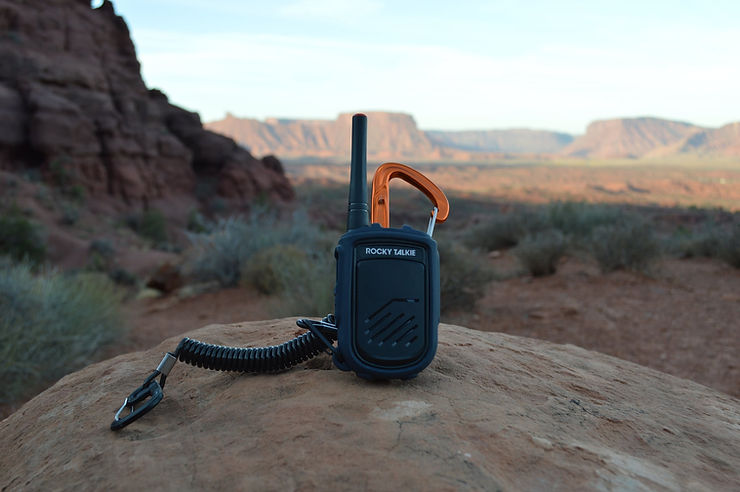
Being able to communicate with your climbing partner is pretty important and the Rocky Talkie makes this very easy. Whether you are cragging for the day or climbing the First Flatiron in Boulder, a little communication can be a lifesaver.
S – Slings
Same as quickdraws, but extendable and more versatile. These can be used to build anchors, extend rappels, and eliminate rope drag when protection is all over the place. Typically, right around ten slings makes up a rack. It’s better to go dyneema here versus nylon, especially for weight savings. If you don’t know what dyneema is, we recommend a Private Day Out to get you up to speed!
T – Trad rack
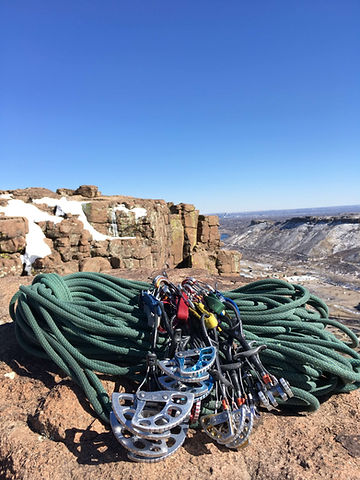
Open a guide book for gear recommendations and many times it will tell you standard rack. This doesn’t do us much good as a standard rack can vary from area to area! For example, if you are climbing in Vedauwoo, your rack will consist of mostly #4 cams and bigger. If you are climbing in Eldorado Canyon State Park, your rack will definitely have a set of Rp’s. A good starting place for any trad rack is a set of cams from .3 to 3 and a full set of stoppers. Always through in a few extra pieces to be conservative and don’t climb a route unless you can adequately protect it. Don’t know how to trad climb yet? Check out one of our Classes!
U – Umbrella…Just kidding, but a raincoat is a must in Colorado!
This is an item that should be in your backpack no matter what. Weather can move fast and can be unpredictable and there is nothing worse than sitting at a belay in the rain without a raincoat. Choose something that is lightweight and packs down small.
V – Vapor climbing shoe (whatever shoe is comfortable)
Much like approach shoes, the proper climbing shoe for the terrain you’re climbing makes all the difference. If you are climbing hard, overhanging sport routes, a downturned shoe will be best. If you are climbing splitter cracks in Moab, then a downturned shoe will leave your feet screaming as you jam them into cracks. Big takeaway is this: find a shoe that is comfortable! Style points come second!
W – Water
ESSENTIAL! You know your body better than anyone and how much water you actually need while physically exerting yourself. Make sure you bring enough water for the days objective. Electrolyte supplements are great for bigger days. Don’t forget to hydrate the day before as well.
X – “X-tra” layers
Don’t get caught unprepared! Always throw in an extra layer or two on the off chance you get benighted or end up hiking down in the dark. Lightweight synthetic jackets are awesome extra layers and even retain some of their insulation while wet.
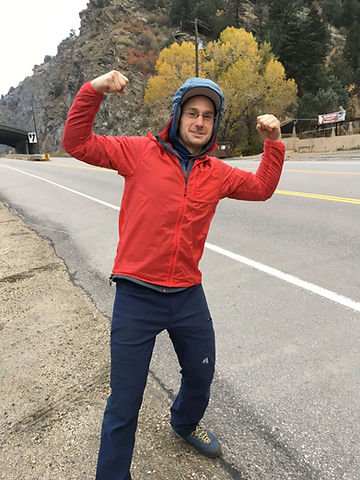
Y – Your stoke!
Get Your Climb On! Experts say that a positive attitude can make all the difference. Sometimes it can be hard to keep the psych high after 20 hours of climbing. Just remember…we do this for fun!
Z – “ZZZZ” A good nights rest
Never underestimate the power of a good nights sleep! Eight hours of sleep is always recommended to perform your absolute best. Drink sleepytime teas the night before and minimize time spent on your phone an hour before bed. Take rest days when you need them and always listen to your body.
Phew, we made it! Some of those letters were a little tricky! One of the main takeaways from this gear list should be this: plan ahead and prepare for the day. Not having the right gear when you need it can quickly become a life and death situation in the mountains.
Not sure where to begin your rock climbing journey? Interested in learning how to trad climb? Want to climbing an iconic route? We can help point you in the right direction. Drop us a line and we hope to see you in the mountains!
The Golden Mountain Guides Team


Content Copyright © 2024 of Golden Mountain Guides. All rights reserved. | Privacy Policy | Site Map