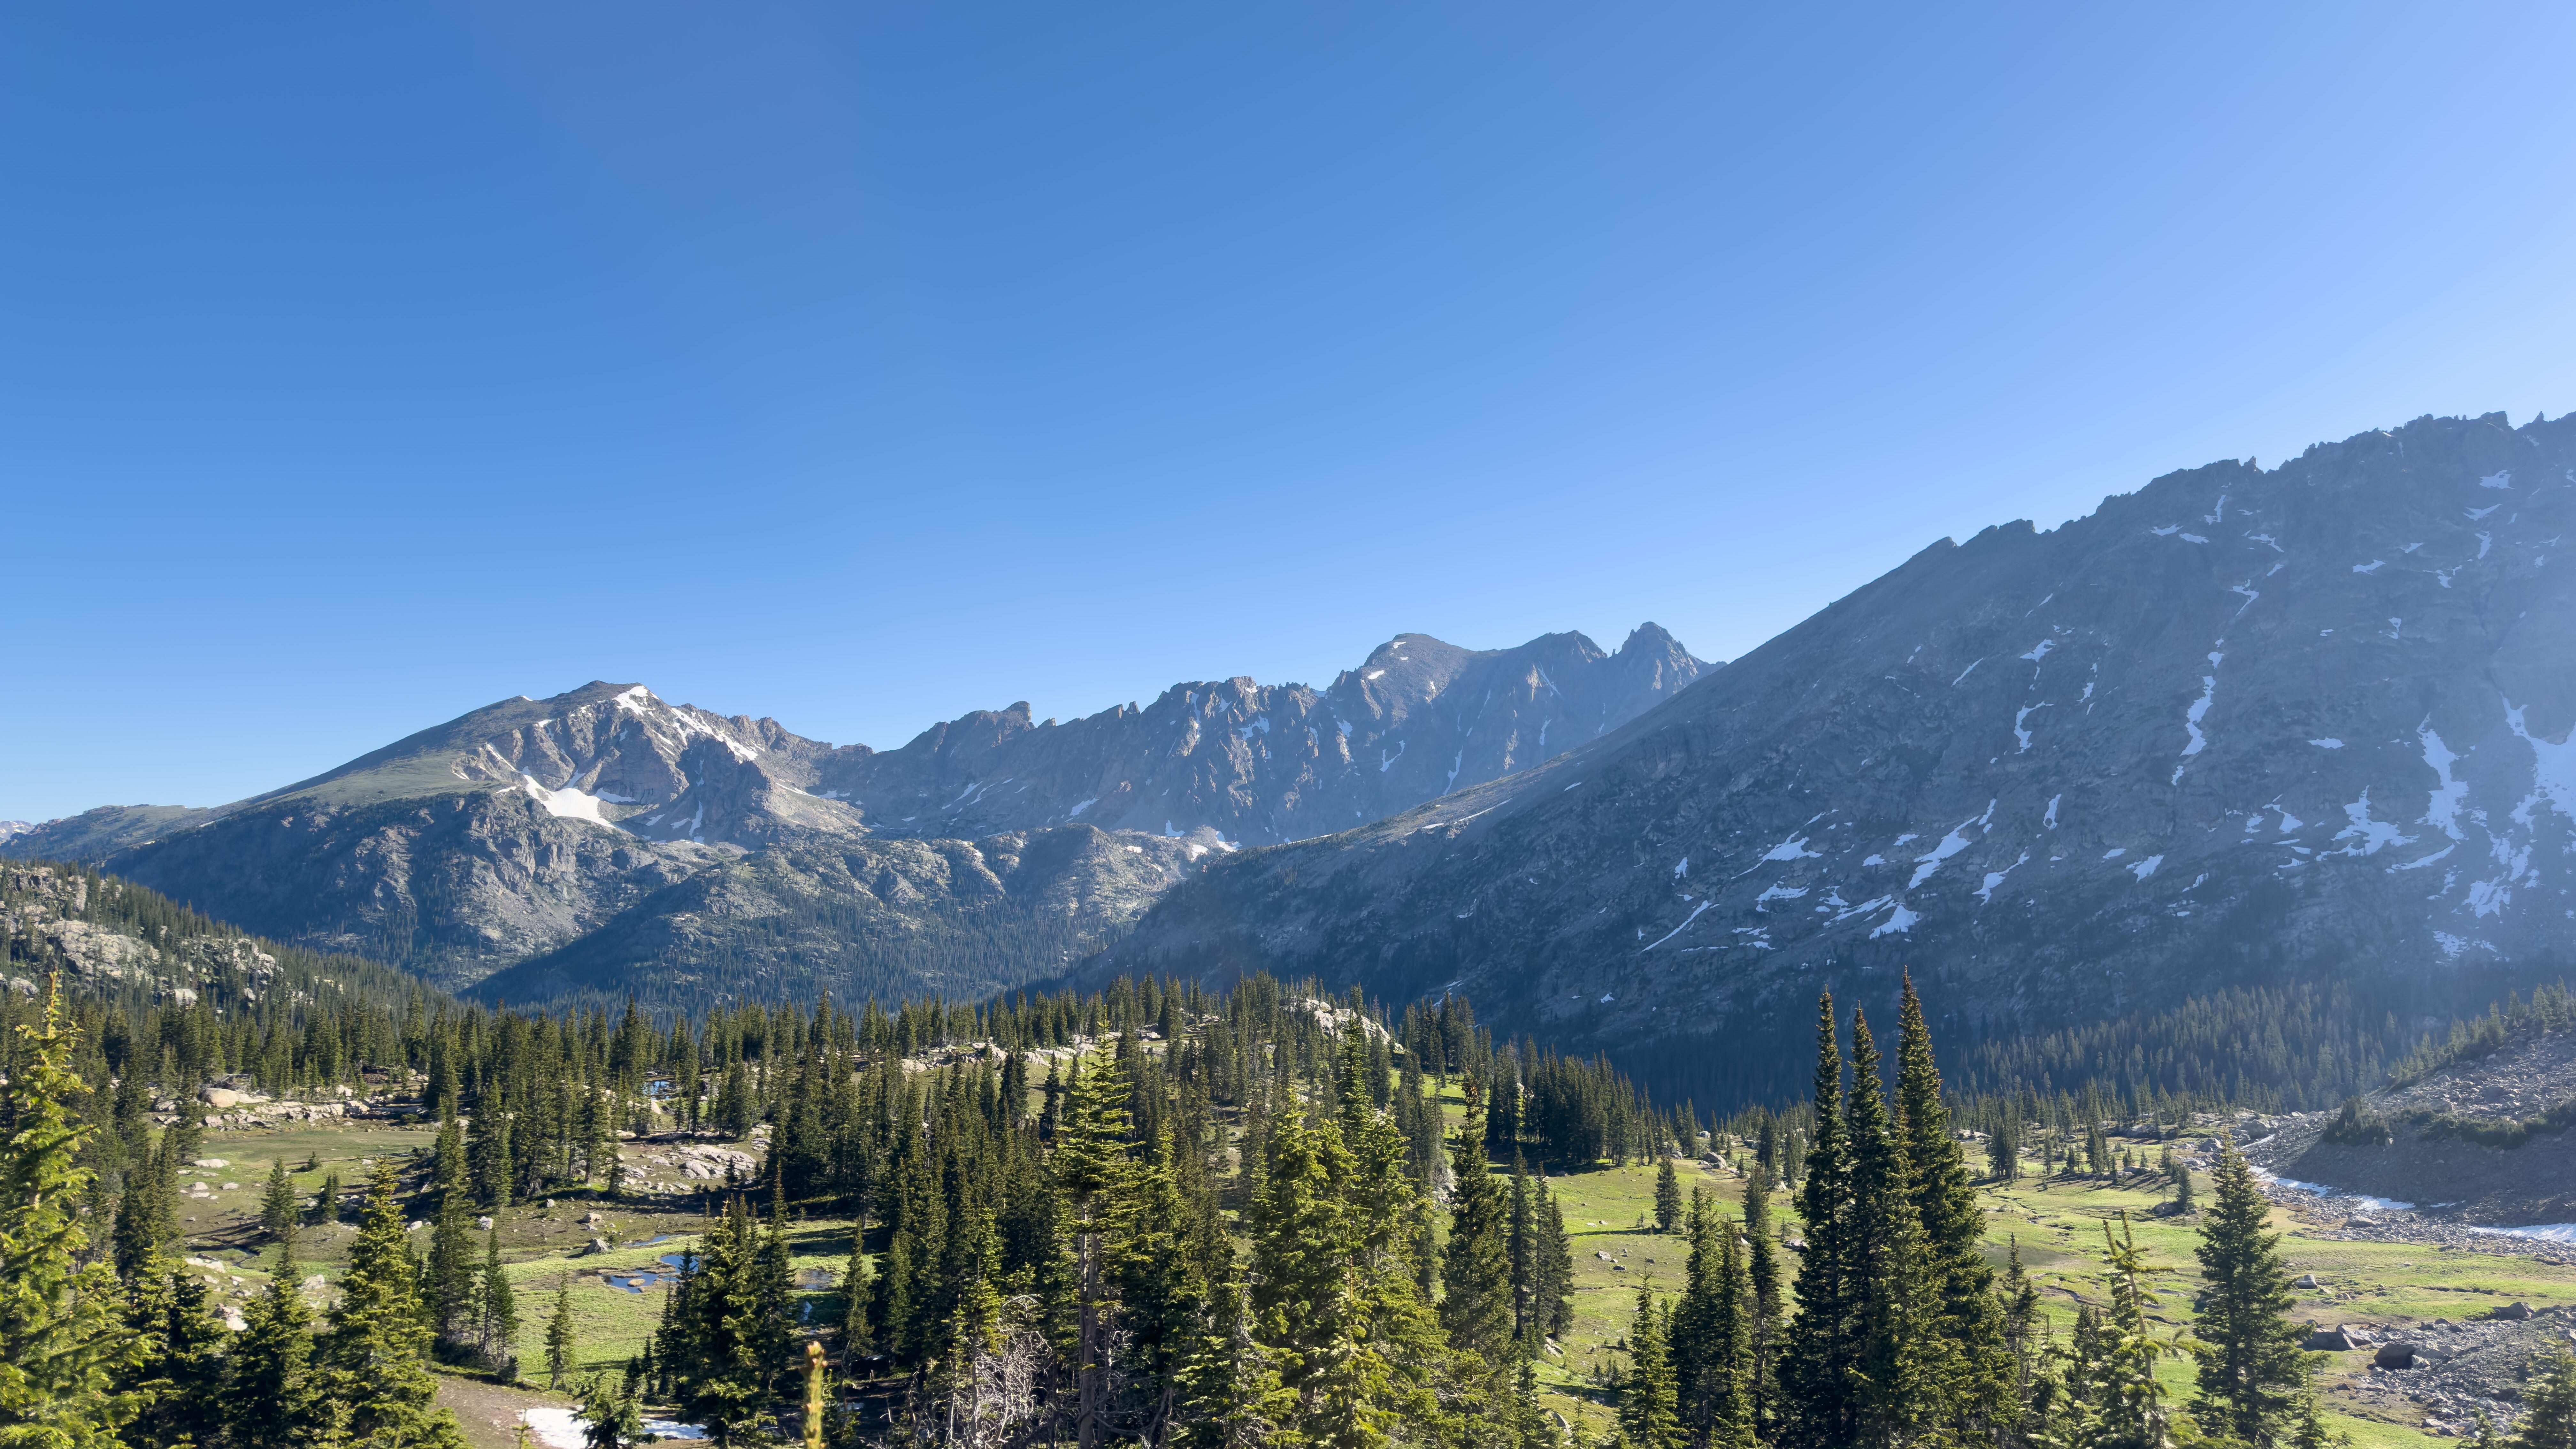
Tackling a 14er requires more than just physical preparation; you must also ensure your vehicle is up to the challenge. Many trailheads for Colorado’s 14ers are accessible only via rugged, unpaved roads. A high-clearance, four-wheel or all-wheel drive vehicle is often necessary to navigate these rough terrains safely. Before you head out, check the road conditions to your chosen trailhead and make sure your car is well-maintained and equipped with a full-size spare tire, jack, and emergency supplies. Being stranded in a remote area due to vehicle issues can turn a great adventure into a stressful ordeal, and block the roads for EMS and other users. There’s a reason you see so many Subarus driving around Colorado!


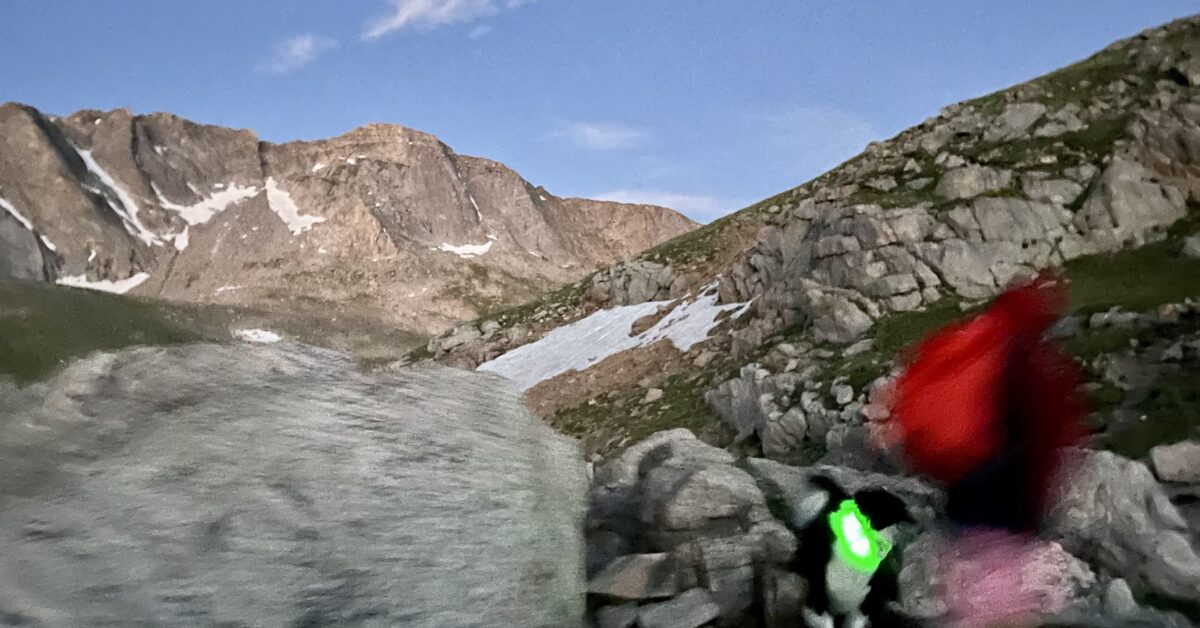
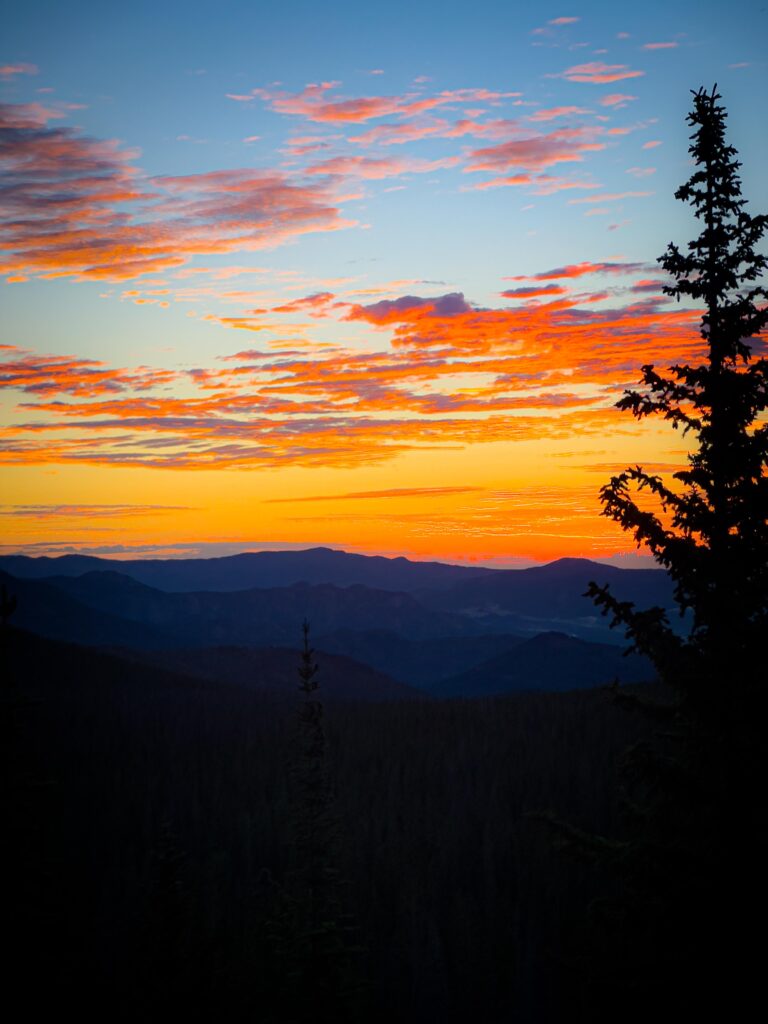
Timing is crucial when climbing a 14er. Starting your hike early in the morning, ideally around 5 or 6 AM, is essential to avoid afternoon thunderstorms, common in Colorado’s high country. Lightning storms can develop rapidly above the treeline, posing a serious risk to hikers. By starting early, you increase your chances of summiting and descending to safer elevations before these storms roll in. Plus, you’ll enjoy cooler temperatures and a more serene hiking experience. The morning alpenglow will be worth it! Consider camping out nearby to make the early wake-up time even easier.
Weather conditions in the mountains can be unpredictable and change rapidly. Before setting out on your 14er adventure, check the weather forecast for your specific route and be prepared for all possibilities. Even in summer, temperatures at higher elevations can be significantly lower than at the trailhead. Pack layers, including a waterproof jacket, gloves, and a hat. If the forecast predicts severe weather, consider postponing your hike. Safety should always be your top priority.
Even when its 80 degrees at home in the Front Range, it can be just above freezing at summit altitudes in the alpine. It’s always best to bring a mid-layer, sun-hoodie, and puffy jacket even in the heat of summer because you never know what will happen.
Outside of cell service, consider pulling weather forecasts intermittently with a satellite communications device like a Garmin Inreach.

Thoroughly planning your route is a vital step in preparing for a successful 14er climb. Research the trail beforehand, familiarize yourself with the key landmarks, and understand the difficulty level. Many 14ers have multiple routes to the summit, ranging from moderate hikes to technical climbs. Choose a route that matches your experience and fitness level. Download maps and, if possible, a GPS track of your chosen route to ensure you stay on course. Inform someone of your plans and expected return time as an additional safety measure.
Check out 14ers.com for specific route details, conditions reports, GPX files, and more beta. Use your own mapping tools like Caltopo, Onx Backcountry, Gaia, or AllTrails to visualize and track yourself live.
Proper equipment can make or break your 14er experience. It all starts with a good foundation, which means having the right footwear for the job. Whether this is a robust hiking boot, approach shoe, or trail runner, choose the right shoe for you. If it’s early season and you are expecting snow, consider a waterproof boot. Going fast and light? Then a trail runner might be a better choice.
You should have a 15-30L backpack to carry your necessities. This includes food and water, additional clothing, trekking poles, headlamps, microspikes, wag-bag, first aid kit, and anything else you need to be comfortable. One big tip is to bring a water filter like a Katadyne BeFree, and filter water along the way. You might drink about 3 Liters on a solid 14er hike, so take 1L in a bottle, and filter the rest as you go. With alpine snow melt, there is usually plenty of water around, but make sure to plan ahead.
During winter months or early season ascents, micro-spikes and trekking poles are essential. Pure winter ascents will require more technical equipment such as a three-season boot, crampons, ice axe, and possibility flotation like snow shoes.
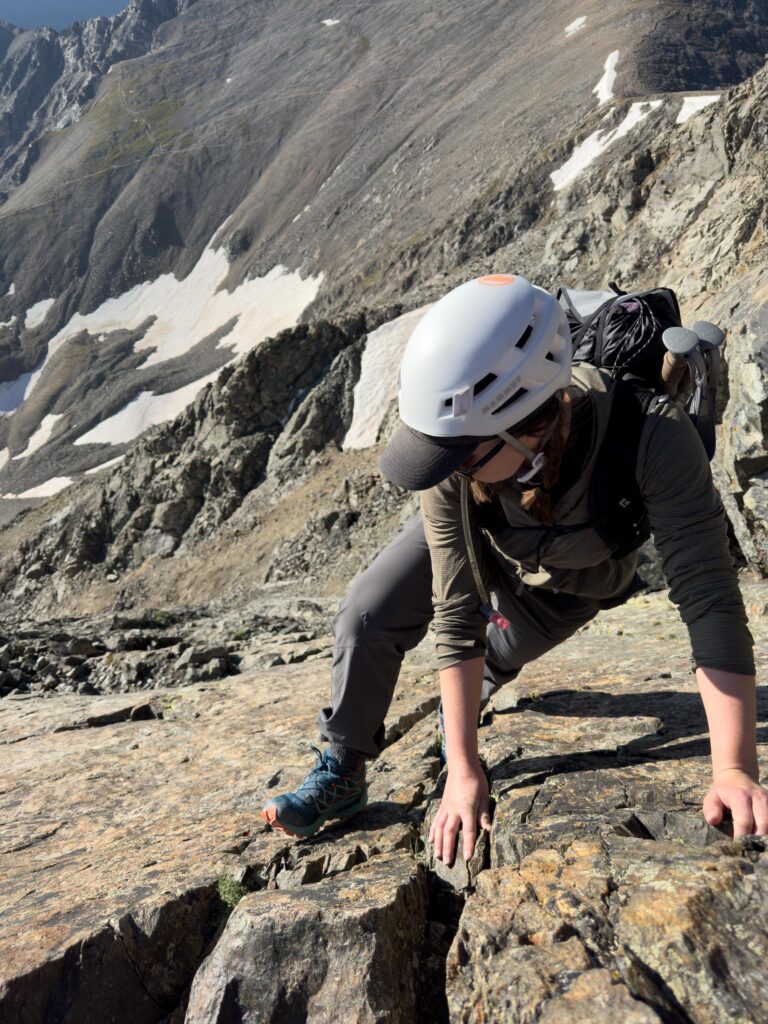
If you are venturing on a Class 3, Class 4, or Class 5 route, you should strongly consider wearing a helmet. A helmet, for a hike? Yep, with the potential for rock fall from above, you’re going to want to protect your dome. Once you experience rock fall for the first time, you will be glad you’re wearing one.
Sticky approach shoes and other specialized mountain boots are worth their weight in gold on Colorado’s more adventurous scrambling routes, like the Kelso Ridge.

Believe it or not, heat exhaustion is not the only environmental illness to lookout for. Even in the summertime, you can catch hypothermia and other cold-related illnesses. How? Well for every 1000ft of elevation gain, the temperature will drop about 3 degrees Fahrenheit. While it may be 90 in Denver, expect the temperature to be about 60 degrees at the top of your climb! Combine this with wind and rain, and you’re in for a cold time!
Choose clothing that is moisture-wicking, polyester or wool, lightweight, and versatile. Here’s a list to help you get started:
-Long sleeve sun shirt or short sleeve polyester/wool t-shirt. Try to avoid cotton, as cotton is difficult to dry.
-Lightweight pants/shorts
-Down or Fleece Jacket: Great to have when you summit, especially if it’s windy!
-Rain Jacket: Don’t forget the Colorado afternoon thunderstorms typically bring rain and hail!
-Hiking Boots/Trail Running shoes: Either will work, depending personal preference on weight of your pack.
-Hat
-Lightweight gloves
-Sunscreen: Don’t forget you are closer the the suns UV rays!

We all hike at different paces, so it’s important to give yourself plenty of time to ascend and descend the trail. Ideally starting around 5am will give you plenty of time to summit many of Colorado front range fourteeners, however I recommend using the 1 mile per hour pace to accommodate for necessary breaks and time to take pictures along the route. So, if your route is 8 miles round trip, expect to spend 8-10 hours on the mountain. Make sure you have a plan and let someone who is not on your trip know what your start and estimated end time is. This way if something happens, someone knows where you are! Remember, going up is optional, but getting down is mandatory!
Altitude sickness, also known as acute mountain sickness(AMS) is a common medical issue that anyone can experience, regardless if you are an experienced climber or this being your first fourteener. Here are some of the major signs to be on the lookout for:
-Headache
-Dizziness
-Nausea or Vomiting
-Fatigue and loss of energy
-Shortness of breath
-Loss of Appetite
To offset AMS, it’s essential to ascend gradually, giving your body time to acclimatize. Staying hydrated and avoiding alcohol can help, as well as eating a high-calorie diet to maintain energy levels. If symptoms persist, descending to a lower altitude is often the most effective remedy.

Staying hydrated is crucial, as the higher altitude can lead to quicker dehydration. Aim to drink at least three to four liters of water per day, and consider adding electrolytes to your water to replenish the salts lost through sweat. Avoid alcohol and caffeine, as they can contribute to dehydration.
You will need to intake a high number of calories while attempting your climb as well. Ideally, plan to eat plenty of carbohydrates such as breads, oats, fruits, and grains for quick energy and adding in fats such as cheeses, butter, and nuts will help with long term sustained energy. Try to avoid eating too much protein, as it takes the body longer to digest and turn into energy. Lastly, bring some sweet snacks, gummy bears, chocolate bars and candy. Keep in mind that you are the best judge of your own body’s needs. Avoid introducing any new foods to your diet during your trip, as you might not know how your body will react.

If not the most important aspect of the day, remember to have fun! While the hike may be strenuous and long, stop and take a look around at the beauty and natural landscape, a be proud of yourself for attempting a difficult and challenging hike!


Content Copyright © 2025 of Golden Mountain Guides. All rights reserved. | Privacy Policy | Site Map